Stacey2
Installation
If you are running OSX 10.5 or later, you can run stacey locally on your computer. See running stacey on OSX.
-
Download an FTP program (if you don’t already have one).
Filezilla is a decent free option for PC, or Cyberduck for a Mac.
- Log into your server using the FTP details provided by your host.
-
Copy all the files from the stacey folder into the web directory on your server.
-
Rename the htaccess file to .htaccess.
Files which begin with a . are treated as hidden files on most systems. If the .htaccess file disappears in your FTP program, you may need to turn on ‘show hidden files’ which is generally a setting somewhere in the FTP program.
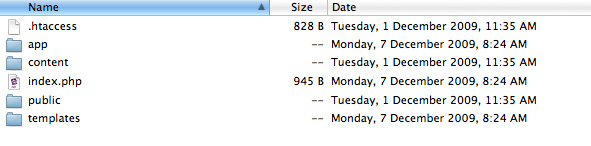
Your web directory should now look like this.
-
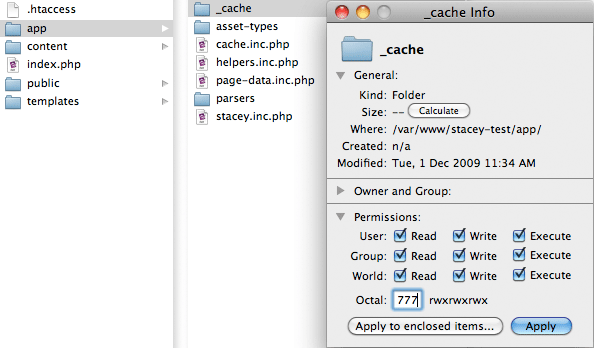
Go into the /app folder and change the permissions on the _cache folder to be 777 (completely public).
If your FTP program doesn’t have an option to set permissions to 777, you’re looking to allow ‘Read’, ‘Write’ & ‘Execute’ access for ‘Owner’, ‘Group’ & ‘Public’.
-
Visit your website and you should see stacey running with all its default content:
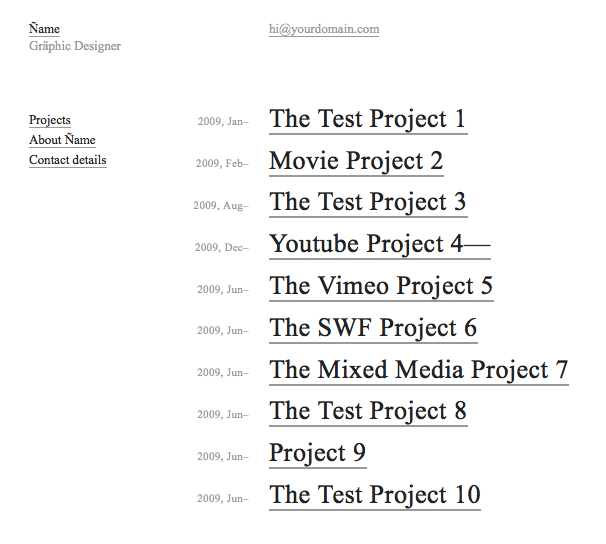
If things aren’t displaying correctly, you can visit the stacey support forums for help. If everything looks like the screenshot above, then you probably want to read about Creating Pages next.